Creating an Unforgettable Photo Album with Fliplify: A Step-by-Step Guide
Introduction
Capturing memories through photos is a cherished tradition, and creating a photo album is a wonderful way to preserve these moments. Whether for personal keepsakes or professional portfolios, digital photo albums offer unmatched convenience and flexibility. They allow you to access and share your memories anytime, anywhere, without worrying about physical storage. Visual Paradigm Online Flipbook Maker is an excellent tool for transforming your photos into captivating digital photo albums. In this article, we will discuss how to use Fliplify to create an unforgettable photo album by incorporating various design elements, 2D and 3D animation effects, and more.
Fliplify Offers Powerful Features
Fliplify offers several powerful features that make it stand out from other similar tools. Here are some key features that set Fliplify apart:
- User-friendly Interface: Fliplify’s intuitive interface allows users to create captivating digital flipbooks without any technical expertise. This makes it accessible to people of all experience levels, including those who are new to digital design.
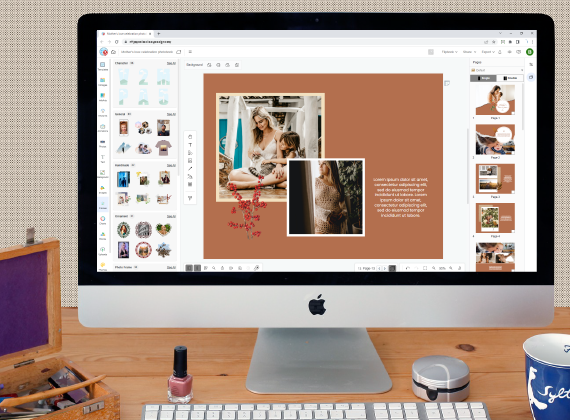
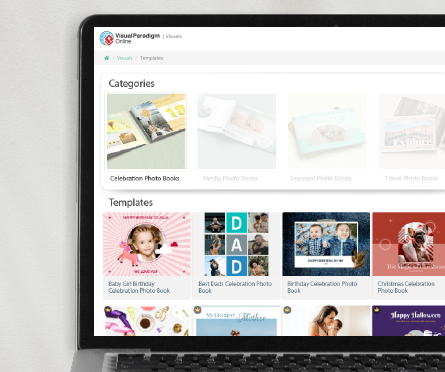
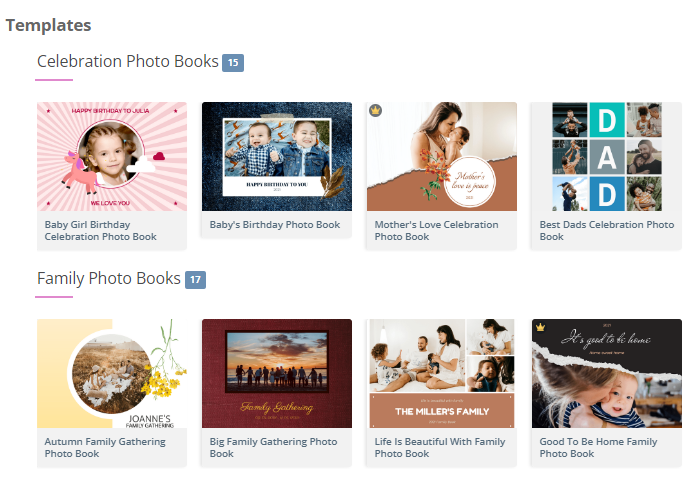
- Customizable Templates: Fliplify provides a wide range of customizable templates for various purposes, such as photo albums, product catalogs, business portfolios, and more. Users can select a template that best fits their needs and edit it to match their desired style and design.
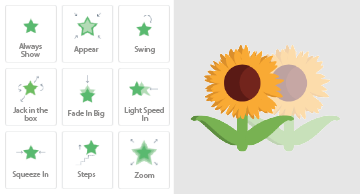
- Animation Effects: Fliplify enables users to incorporate animation effects into their flipbooks, setting them apart from static digital albums.
- Rich Media Support: Fliplify supports a wide variety of media, including images, videos, audio, and interactive elements, allowing users to create multimedia flipbooks with a rich and immersive experience for their viewers.

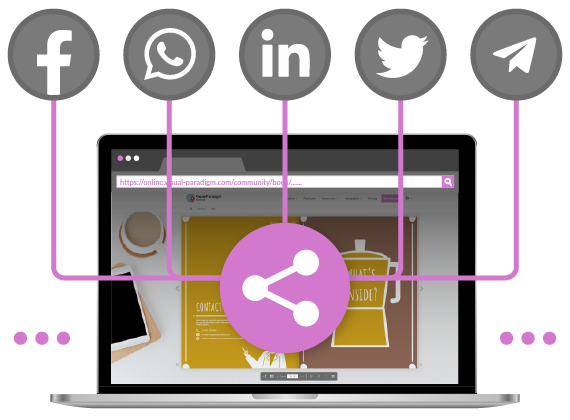
- Easy Sharing and Distribution: Fliplify simplifies sharing and distribution of digital flipbooks by allowing users to share their creations through social media, email, or by embedding them on their websites.

- Responsive Design: Fliplify’s responsive design ensures that digital flipbooks look great on all devices, including smartphones, tablets, and desktop computers, helping users create flipbooks that are accessible and enjoyable for everyone, regardless of the device they are using.
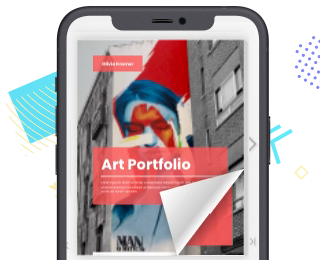
Step 1: Choose a Template
Start by selecting a suitable template for your photo album from Fliplify’s template library. Browse through the available templates and choose one that best suits your needs. You can also use the “Edit this Template” option to preview the page design with your images and decide if it fits your requirements.
Step 2: Upload Your Photos
Click on the “Image” button to upload your images from your device. Alternatively, use the “Upload Media” button to access millions of icons and photos provided by Visual Paradigm for customization.

Step 3: Customize Your Album
Drag and drop the uploaded images to replace the existing ones on the template. Edit the text content and other elements according to your needs.

Hint: Instead of uploading the photo one by one, you can also choose to upload multiple images and drag and drop the photos from the photo library according to your needs.
Step 4: Incorporate Design Elements
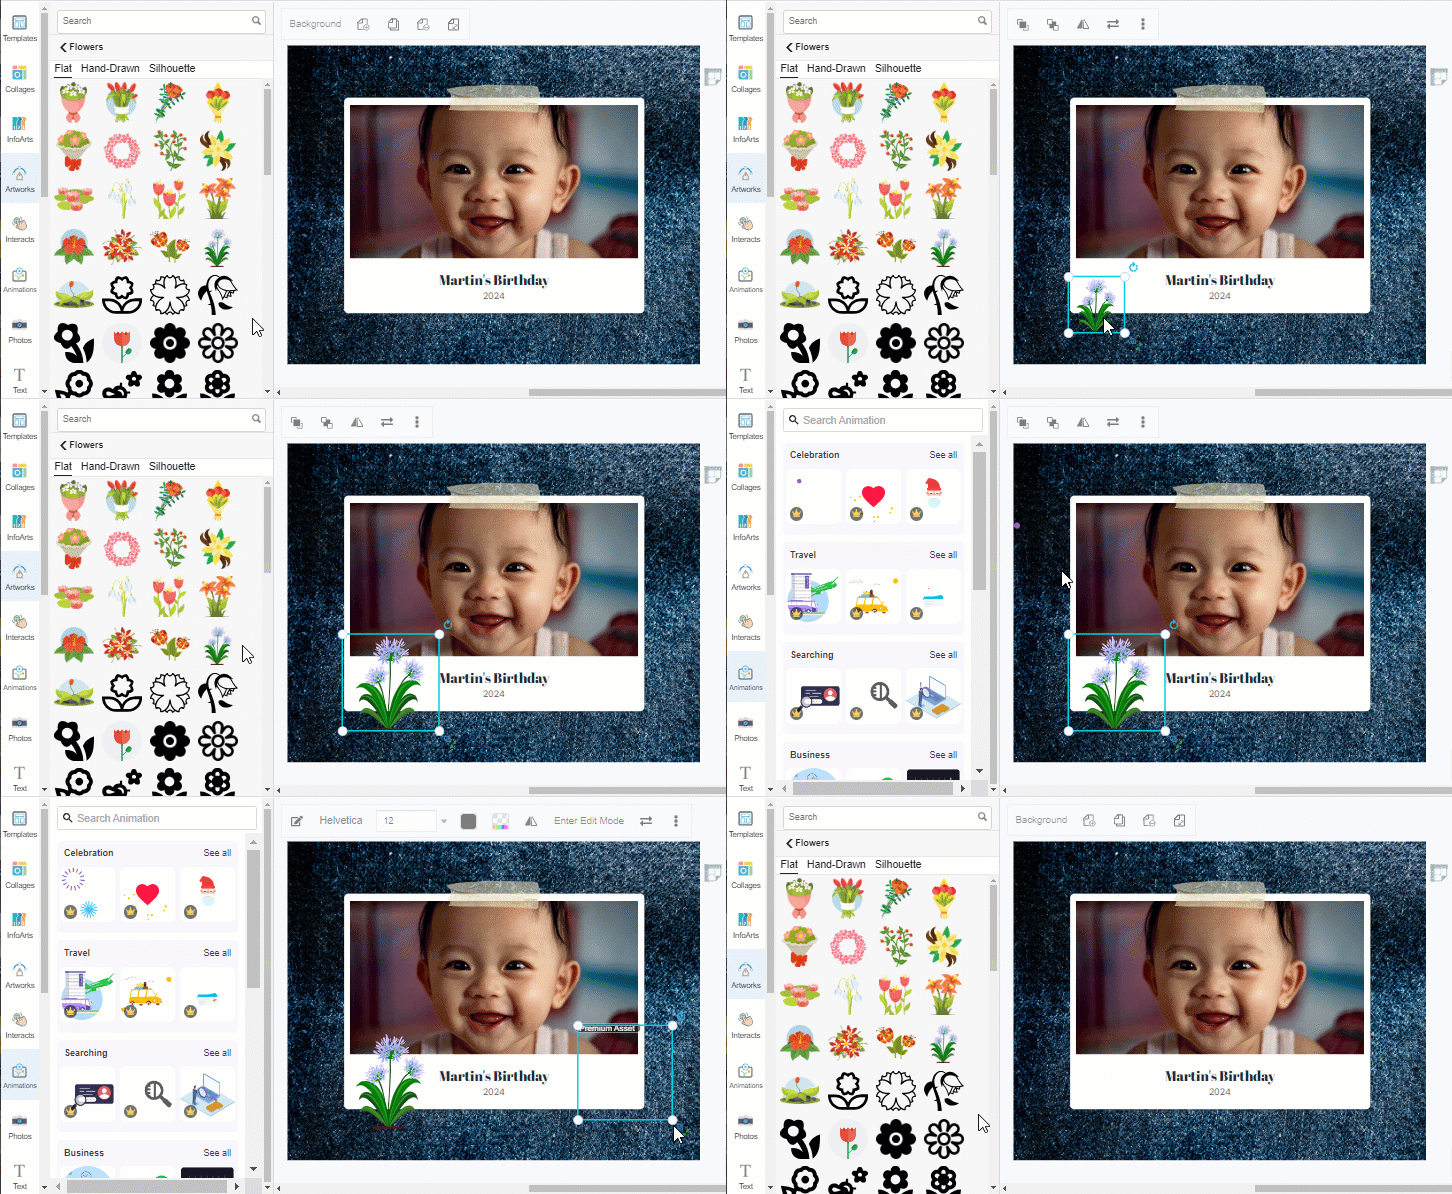
To make your photo album stand out, incorporate various design elements, such as 2D and 3D animation effects, backgrounds, and textures. These can be accessed through Fliplify’s extensive library of design elements.
Step 5: Review and Adjust
Take some time to review your photo album, making any necessary adjustments to the layout, design, and text content. Ensure that your album captures the essence of your chosen theme or purpose.
Step 6: Share Your Album
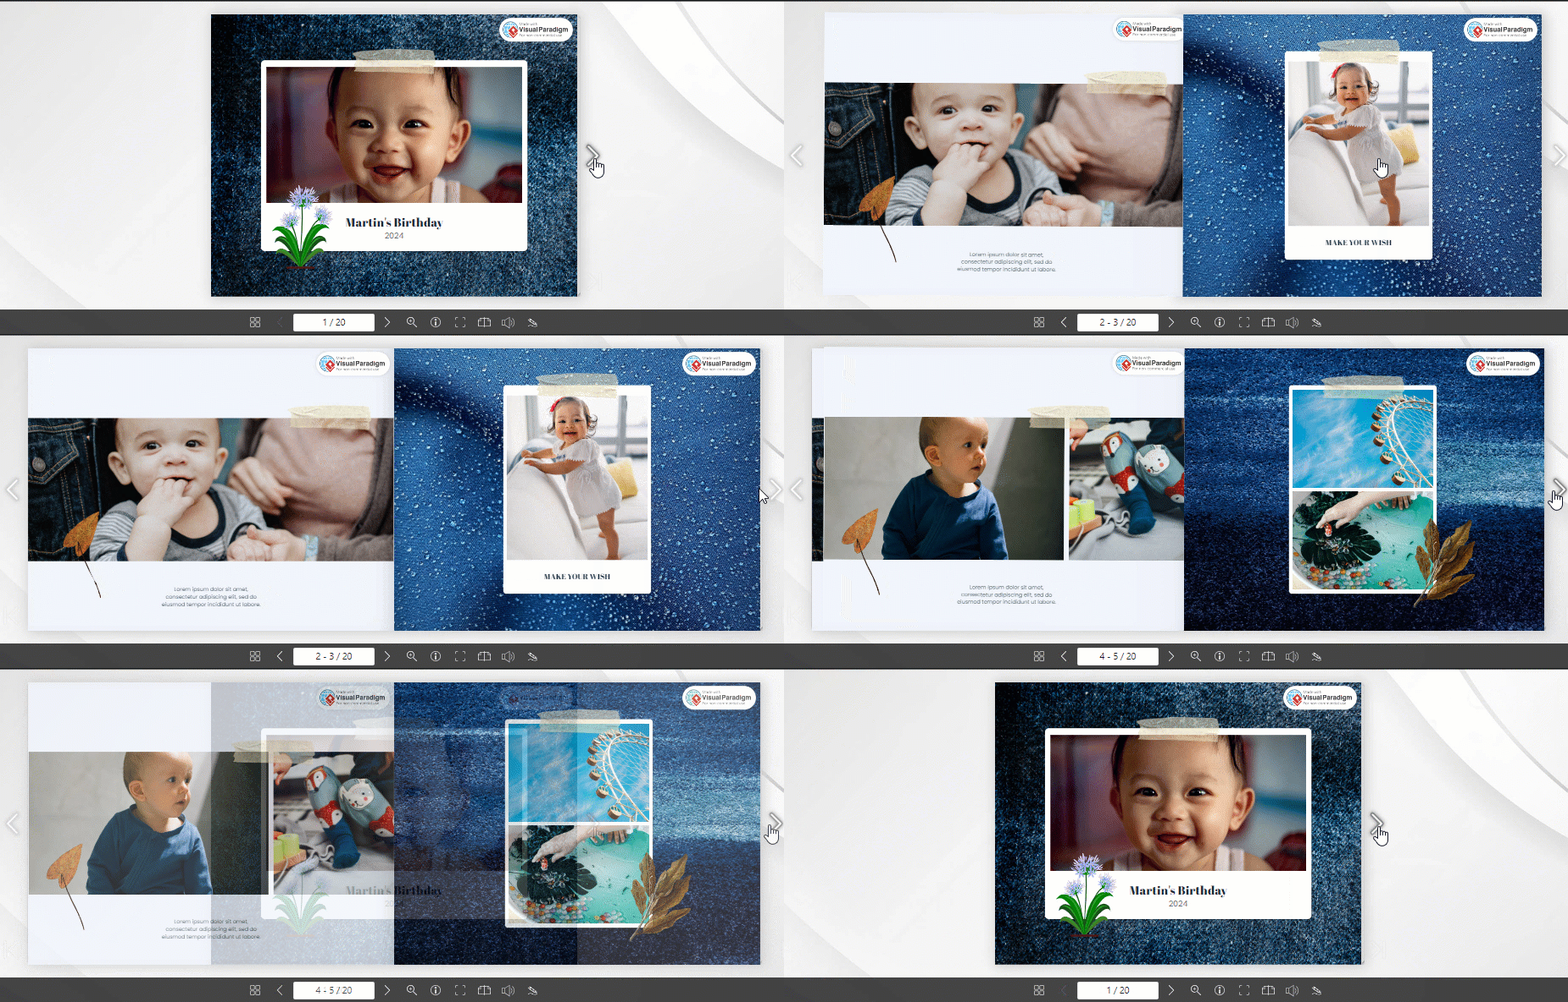
Once you’re satisfied with your photo album, share it with your friends and family through social media or by emailing them a link to your digital album.
Conclusion
Creating an unforgettable photo album with Fliplify is an enjoyable and straightforward process that results in a captivating digital photo album. By following the step-by-step guide and incorporating various design elements, such as 2D and 3D animation effects, backgrounds, and textures, you can create a photo album that truly stands out from the rest. Additionally, the interactive features offered by Fliplify can help make your photo presentation more dynamic and engaging, preserving precious memories for years to come.

